ACTIVE CONTROL ENGINE MOUNT(for Front Side) REMOVAL
PROCEDURE
-
REMOVE VACUUM SWITCHING VALVE (for Active Control Engine Mount System)
-
REMOVE FRONT WHEEL OPENING EXTENSION PAD RH
-
REMOVE FRONT WHEEL OPENING EXTENSION PAD LH
-
REMOVE NO. 1 ENGINE UNDER COVER
-
REMOVE NO. 2 ENGINE UNDER COVER ASSEMBLY
-
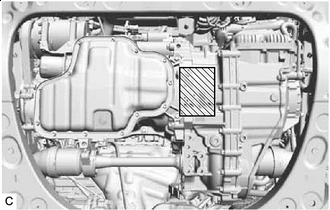
REMOVE FRONT ENGINE MOUNTING INSULATOR
-
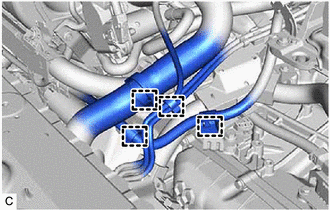
Disengage the 4 clamps to separate the radiator hose, vacuum hoses and No. 2 engine wire from the No. 1 radiator bracket.
-
Remove the bolt and No. 1 radiator bracket from the front engine mounting bracket.
-
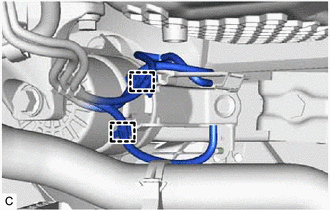
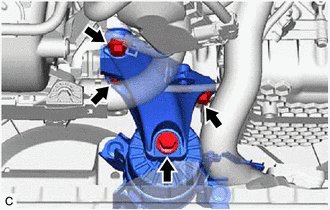
Disengage the 2 clamps to separate the vacuum hoses from the front engine mounting insulator.
-
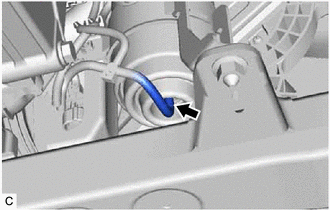
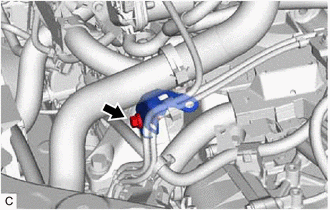
Disconnect the vacuum hose from the front engine mounting insulator.
-

Wooden Block Placement Location Support the engine assembly with transaxle using a jack and wooden block.
-
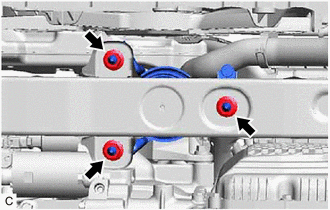
Remove the 4 bolts and front engine mounting bracket.
-
Remove the 3 nuts and front engine mounting insulator from the front frame assembly.
-
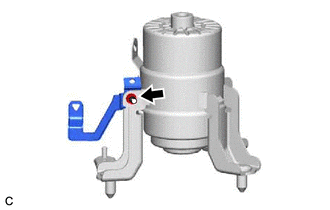
Remove the nut and stay from the front engine mounting insulator.
-