FOG LIGHT ASSEMBLY DISASSEMBLY
PROCEDURE
-
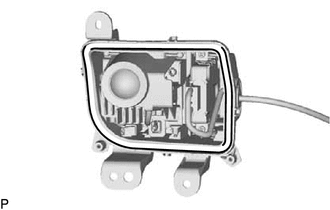
REMOVE CAP ASSEMBLY
-
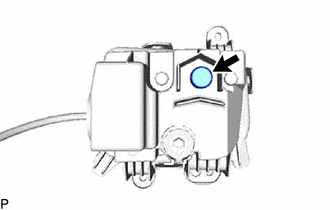
Remove the cap assembly.
-
-
REMOVE FOG LIGHT LENS
-
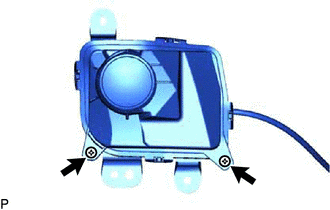
Remove the 2 screws.
-
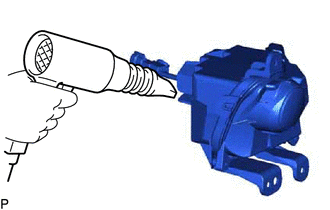
Using a dryer, heat the backside of the fog light assembly.
Note
If the fog light assembly is heated unevenly, it will deform or melt.
-
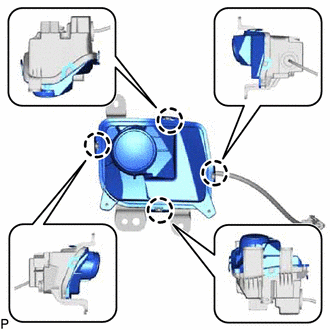
Disengage the 4 claws.
-
Remove the fog light lens.
Note
-
Be sure to wear clean rubber gloves.
-
Do not allow dirt or foreign matter to get on the fog light lens.
-
If there are any fingerprints on the back of the fog light lens, wipe them off with a soft cloth.
Tech Tips
If the fog light lens cannot be removed even after heating, using a screwdriver with its tip wrapped with protective tape, lift the fog light lens. Be careful not to damage the fog light lens and housing.
-
-
-
REMOVE FOG LIGHT GASKET
-
Remove the fog light gasket from the housing.
Note
After the fog light lens is removed, be sure to replace fog light gasket with a new one. Failure to do so may cause water ingress.
-
-
REMOVE LIGHT CONTROL LED ECU
Note
-
Do not allow dirt or foreign matter to get on the fog light unit assembly.
-
If there are any fingerprints on the fog light unit assembly, wipe them off with a soft cloth.
-
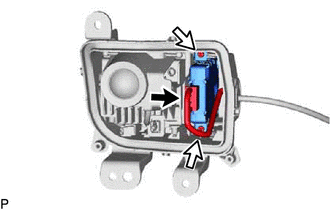
Disconnect the connector.
-
Remove the 2 screws and light control LED ECU.
-
-
REMOVE FOG LIGHT CORD
-
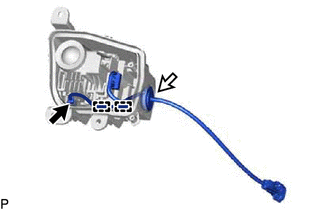
Disconnect the connector.
-
Disengage the 2 clamps.
-
Disengage the grommet and remove the fog light cord.
-