REAR SEAT ASSEMBLY(for 60/40 Split Seat Type LH Side) DISASSEMBLY
CAUTION / NOTICE / HINT
CAUTION:
Wear protective gloves. Sharp areas on the seat frame may injure your hands.
PROCEDURE
-
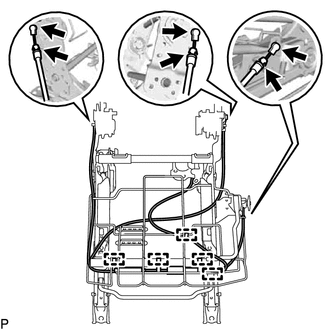
REMOVE REAR CENTER SEAT INNER BELT ASSEMBLY
-
REMOVE REAR SEAT COVER CAP LH (for Manual Seat)
-
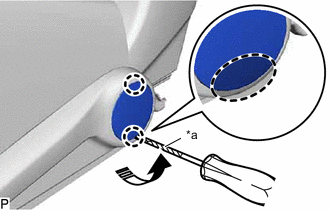
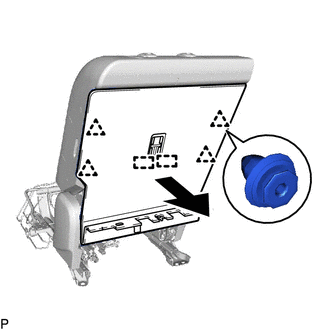
*a Protective Tape 
Insert Screwdriver Here 
Remove in this Direction Using a screwdriver with its tip wrapped with protective tape, disengage the 2 claws and remove the rear seat cover cap LH as shown in the illustration.
-
-
REMOVE NO. 1 RECLINING ADJUSTER RELEASE HANDLE LH (for Manual Seat)
-
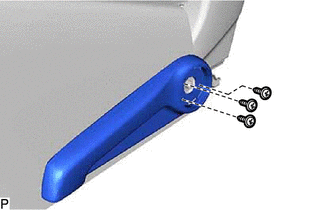
Remove the 3 screws and No. 1 reclining adjuster release handle LH.
-
-
REMOVE POWER SEAT SWITCH ASSEMBLY (for Power Seat)
-
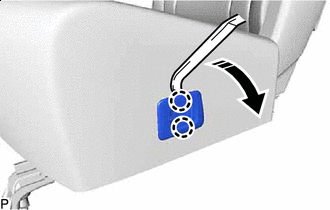
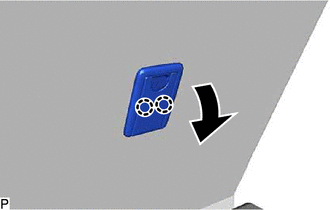
Remove in this Direction Using a moulding remover A, disengage the 2 claws as shown in the illustration.
-

Disconnect the connector to remove the power seat switch assembly.
-
-
REMOVE REAR POWER SEAT SWITCH LH (for Power Seat)
-
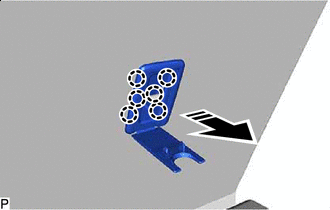
Remove in this Direction Disengage the 2 claws and remove the rear power seat switch LH as shown in the illustration.
-
-
DISCONNECT SEPARATE TYPE REAR SEAT CUSHION COVER WITH PAD
-
Disengage the 2 hooks to disconnect the separate type rear seat cushion cover with pad.
-
-
REMOVE SEAT HEATER CONTROL SUB-ASSEMBLY (w/ Seat Heater System)
-
Disconnect the 2 connectors.
-
Disengage the 2 clamps to remove the seat heater control sub-assembly.
-
-
REMOVE CONNECTOR BRACKET (w/o Seat Belt Warning System)
-

Remove in this Direction Disengage the claw and remove the connector bracket as shown in the illustration.
-
-
REMOVE CONNECTOR MALE HOUSING (for Manual Seat)
-
w/o Seat Heater System:
-
Disengage the clamp to remove the connector male housing.
-
-
-
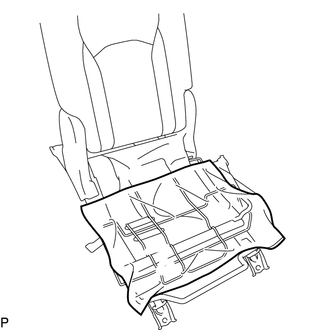
REMOVE SEPARATE TYPE REAR SEAT CUSHION COVER WITH PAD
-
Disconnect the rubber band.
-
*A w/ Seat Heater System for Manual Seat:
-
w/ Seat Heater System:
-
Disconnect the connector.
-
Disengage the 2 clamps and remove the rear seat wire LH.
-
-
Disengage the clamp.
-
-
*A w/ Seat Heater System for Power Seat:
-
Disengage the 2 clamps.
-
w/ Seat Heater System:
-
Disconnect the connector.
-
Disengage the 2 clamps.
-
-
-
Disengage each hook and remove the separate type rear seat cushion cover with pad.
-
-
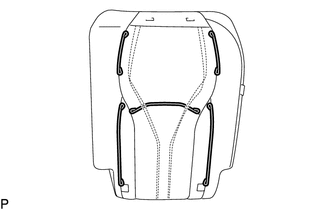
REMOVE SEPARATE TYPE REAR SEAT CUSHION COVER
-


Fastener Disengage the fastener.
-

Remove the 6 hog rings.
-

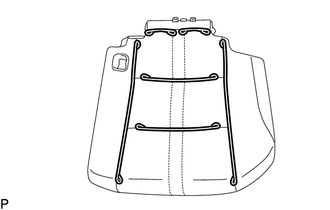
Remove the 20 hog rings and separate type rear seat cushion cover from the separate type rear seat cushion pad.
-
-
REMOVE SEAT CUSHION FELT LH
-
Remove the seat cushion felt LH.
-
-
REMOVE SEAT COVER WIRE
-
Remove the 6 seat cover wires.
-
-
REMOVE REAR SEAT INNER BELT ASSEMBLY LH
-
REMOVE REAR SEATBACK COVER LH
-
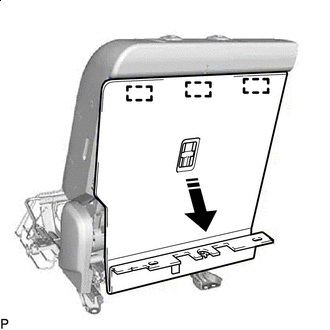
Disengage the 2 claws as shown in the illustration.
-
Remove in this Direction Disengage the 6 claws and remove the rear seatback cover LH as shown in the illustration.
-
-
REMOVE REAR SEATBACK BOARD CARPET ASSEMBLY LH
-
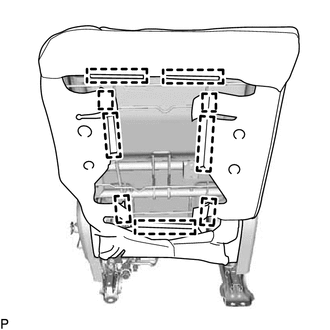
Disengage the 2 hooks.
-
Disengage the 4 clips and 2 guides as shown in the illustration.
-
Remove in this Direction Disengage the 3 guides to remove the rear seatback board carpet assembly LH as shown in the illustration.
-
-
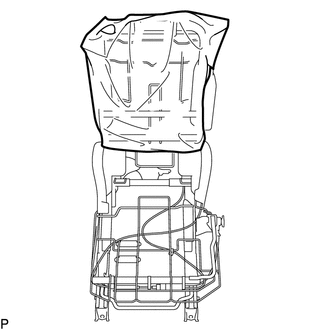
REMOVE SEPARATE TYPE REAR SEATBACK COVER WITH PAD
-
Disengage each hook.
-
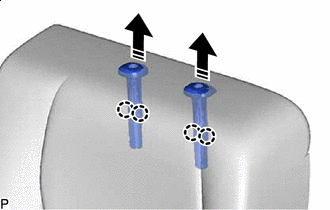
Remove in this Direction Disengage the 4 claws and remove the 2 rear No. 1 seat headrest supports as shown in the illustration.
-
for Manual Seat:
-
Fastener Disengage the fastener.
-
Disengage the 2 hooks.
-
-
Remove the nut and disconnect the 2 rear seatback cover brackets.
-
Remove the separate type rear seatback cover with pad.
-
-
REMOVE SEPARATE TYPE REAR SEATBACK COVER
-
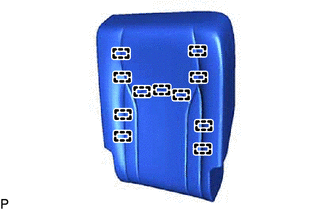
Remove the 11 hog rings and separate type rear seatback cover from the separate type rear seatback pad.
-
-
REMOVE SEAT COVER WIRE
-
Remove the 5 seat cover wires.
-
-
REMOVE SEATBACK FELT LH
-
Remove the seatback felt LH.
-
-
REMOVE REAR SEAT AIRBAG ASSEMBLY LH
-
REMOVE NO. 1 RECLINING LINK COVER LH (for Manual Seat)
-
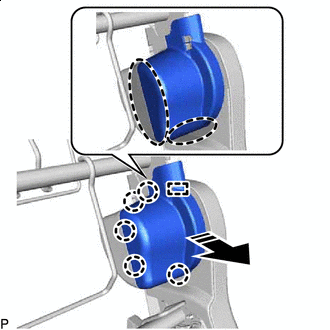
Place Hand Here Remove in this Direction Disengage the 5 claws and guide to remove the No. 1 reclining link cover LH as shown in the illustration.
-
-
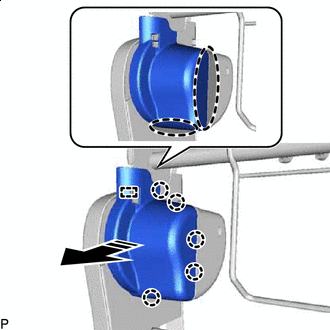
REMOVE NO. 2 RECLINING LINK COVER LH (for Manual Seat)
-
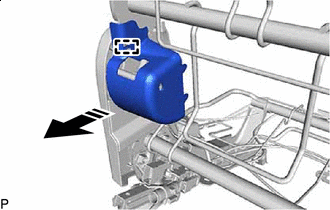
Remove in this Direction Disengage the guide to remove the No. 2 reclining link cover LH as shown in the illustration.
-
-
REMOVE NO. 1 RECLINING LINK COVER RH (for Manual Seat)
-
Place Hand Here Remove in this Direction Disengage the 5 claws and guide to remove the No. 1 reclining link cover RH as shown in the illustration.
-
-
REMOVE NO. 2 RECLINING LINK COVER RH (for Manual Seat)
-
Remove in this Direction Disengage the guide to remove the No. 2 reclining link cover RH as shown in the illustration.
-
-
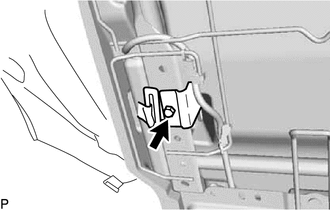
REMOVE REAR SEATBACK PROTECTOR (for Power Seat)
-
Remove the 2 nuts and rear seatback protector.
-
-
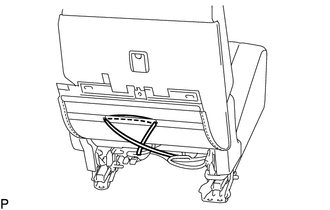
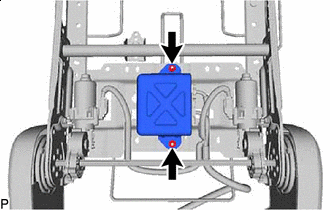
REMOVE FOLD SEAT CONTROL ECU (for Power Seat)
-
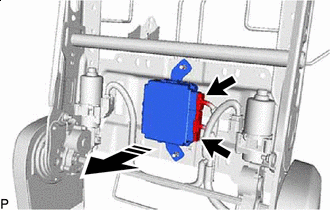
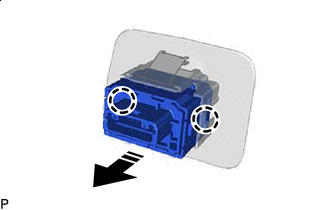
Remove in this Direction Disconnect the 2 connectors and remove the fold seat control ECU as shown in the illustration.
-
-
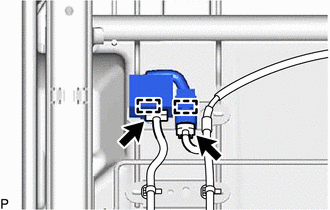
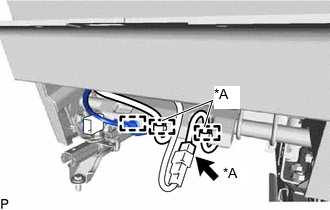
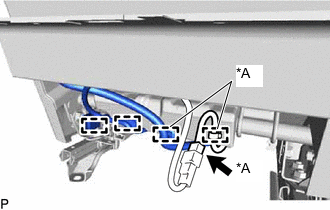
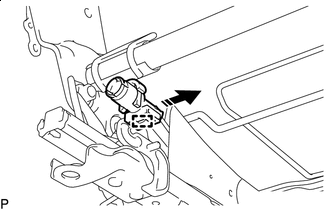
REMOVE REAR SEAT WIRE LH (for Power Seat)
-
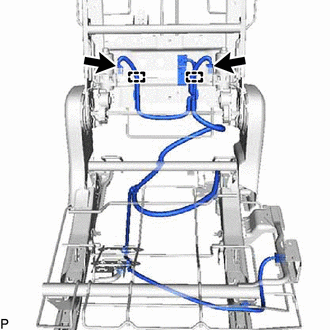
Disconnect the 2 connectors.
-
Disengage the 2 clamps and remove the rear seat wire LH.
-
-
REMOVE REAR SEATBACK MOULDING LH
-
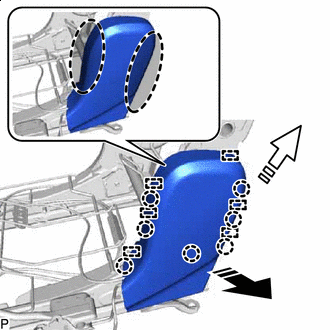
Place Hand Here Remove in this Direction (1) 
Remove in this Direction (2) Disengage the 7 claws and 6 guides as indicated by the arrows, in the order shown in the illustration to remove the rear seatback moulding LH.
-
-
REMOVE REAR SEAT INNER RECLINING COVER LH
-

Place Hand Here Remove in this Direction (1) Remove in this Direction (2) Disengage the 7 claws and 6 guides as indicated by the arrows, in the order shown in the illustration to remove the rear seat inner reclining cover LH.
-
-
REMOVE RECLINING ADJUSTER INSIDE COVER LH
-
Disengage the claw and guide to remove the reclining adjuster inside cover LH.
-
-
REMOVE RECLINING ADJUSTER INSIDE COVER RH
-
Disengage the 2 claws to remove the reclining adjuster inside cover RH.
-
-
REMOVE NO. 2 REAR SEAT RECLINING CONTROL CABLE (for Manual Seat)
-
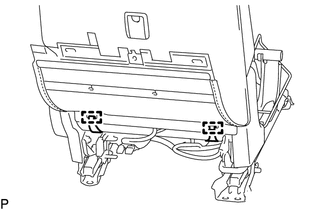
Disengage the 5 clamps.
-
Disengage the 6 cable clamps and remove the No. 2 rear seat reclining control cable.
-
-
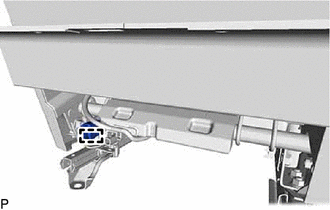
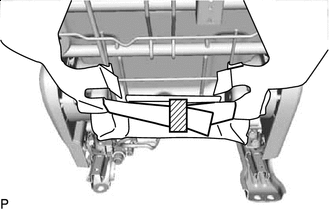
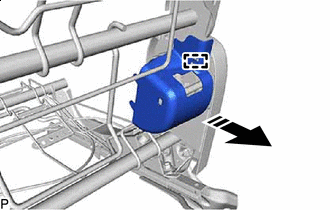
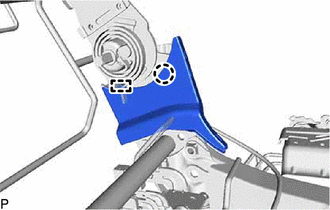
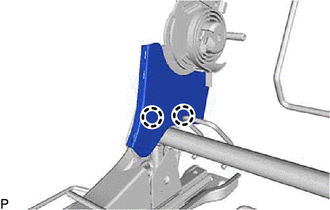
REMOVE REAR SEAT LEG PLATE SUB-ASSEMBLY LH
-
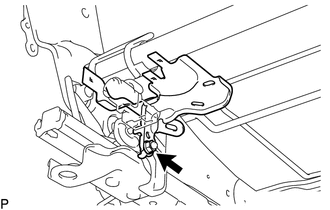
Remove the nut and rear seat leg plate sub-assembly LH.
-
-
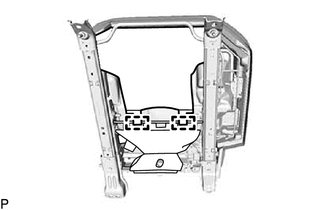
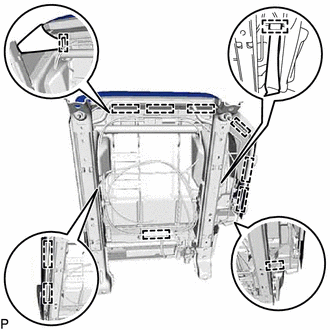
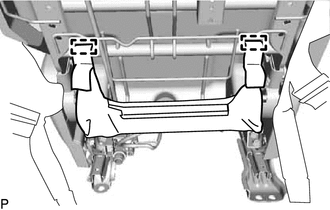
REMOVE REAR SEATBACK FRAME SUB-ASSEMBLY LH
-
Remove in this Direction Disengage the clamp to remove the joint case as shown in the illustration.
-
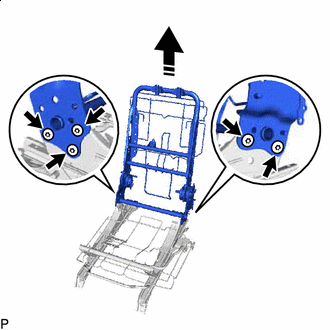
Remove in this Direction Using a T40 "TORX" socket wrench, remove the 5 bolts and rear seatback frame sub-assembly LH from the rear seat cushion frame sub-assembly LH as shown in the illustration.
-