FRONT CONSOLE BOX REASSEMBLY
PROCEDURE
-
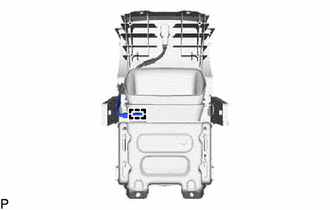
INSTALL REAR CONSOLE BOX WIRE
-
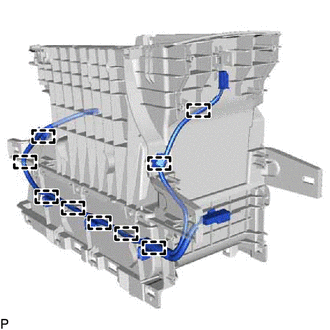
Engage the 9 clamps to install the rear console box wire.
-
-
INSTALL NO. 1 INTERIOR ILLUMINATION LIGHT ASSEMBLY (for Rear Side)
-
INSTALL NO. 1 INTERIOR ILLUMINATION LIGHT ASSEMBLY (for Front Side)
-
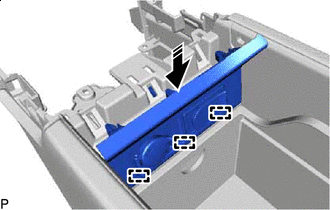
INSTALL NO. 1 BOX PLATE UPPER
-

Install in this Direction Engage the 2 claws to install the No. 1 box plate upper as shown in the illustration.
Tech Tips
Use the same procedure for the RH side and LH side.
-
-
INSTALL NO. 2 CONSOLE BOX DUCT
-
Engage the 6 claws.
-
Install the No. 2 console box duct with the 2 screws.
-
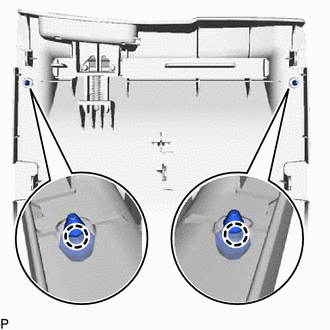
Install the No. 9 console box retainer with the 4 screws.
-
Engage the clamp.
-
-
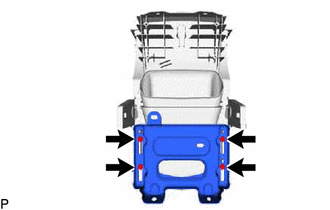
INSTALL GLOVE COMPARTMENT BOX BAND
-
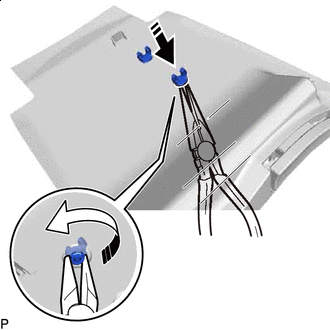
Install in this Direction (1) 
Install in this Direction (2) Using pliers, install the 2 glove compartment box bands as indicated by the arrows, in the order shown in the illustration.
-
-
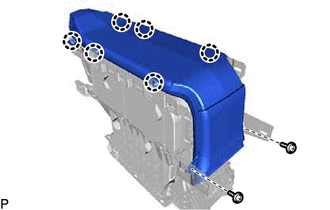
INSTALL CONSOLE COMPARTMENT DOOR CUSHION
-
Engage the 2 claws to install the 2 console compartment door cushions.
-
-
INSTALL CONSOLE COMPARTMENT DOOR LOCK SUB-ASSEMBLY
-
Engage the 10 claws to install the console compartment door lock sub-assembly.
-
-
INSTALL REAR CONSOLE ARMREST ASSEMBLY
-
Install the rear console armrest assembly with the 4 screws.
-
-
INSTALL NO. 2 BOX SIDE PANEL
-
Engage the 9 claws to install the No. 2 box side panel.
-
-
INSTALL NO. 1 BOX SIDE PANEL
-
Engage the 9 claws to install the No. 1 box side panel.
-
-
INSTALL NO. 1 STEREO JACK ADAPTER ASSEMBLY
-
INSTALL NO. 2 POWER OUTLET SOCKET COVER
-
INSTALL NO. 2 POWER OUTLET SOCKET ASSEMBLY
-
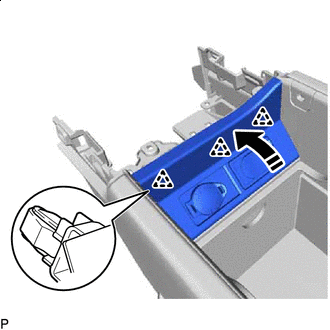
INSTALL REAR CONSOLE BOX GARNISH
-
Install in this Direction Engage the 3 guides as shown in the illustration.
-
Install in this Direction Engage the 3 clips to install the rear console box garnish as shown in the illustration.
-