HOOD LOCK CONTROL CABLE ASSEMBLY(for LHD) REMOVAL
PROCEDURE
-
REMOVE COOL AIR INTAKE DUCT SEAL
-
REMOVE FRONT PILLAR TO FRONT SIDE SEAL SUB-ASSEMBLY LH
-
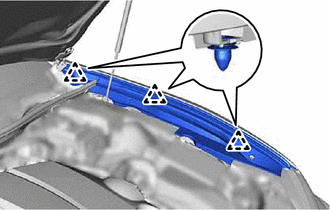
Disengage the clips to remove the front pillar to front side seal sub-assembly LH.
-
-
REMOVE NO. 1 INSTRUMENT PANEL UNDER COVER SUB-ASSEMBLY
-
REMOVE HOOD LOCK CONTROL LEVER SUB-ASSEMBLY
-
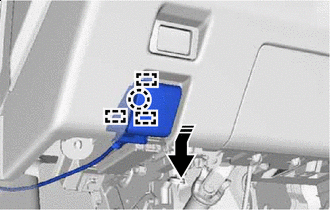

Remove in this Direction Disengage the guides and claw as shown in the illustration.
-

Remove the hood lock control lever sub-assembly from the hood lock control cable assembly.
-
-
REMOVE INLET NO. 1 AIR CLEANER
-
REMOVE HOOD LOCK RELEASE LEVER PROTECTOR
-
REMOVE HOOD LOCK ASSEMBLY
-
REMOVE HOOD LOCK CONTROL CABLE COVER (w/ Cover)
-
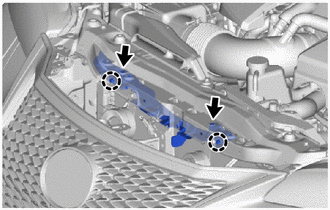
Remove the 2 screws.
-
Disengage the claws to remove the hood lock control cable cover.
-
-
DISCONNECT HOOD LOCK CONTROL CABLE ASSEMBLY
-
DISCONNECT ENGINE ROOM MAIN WIRE
-
REMOVE UPPER RADIATOR SUPPORT
-
REMOVE NO. 2 HOOD LOCK CONTROL CABLE COVER (w/ Cover)
-
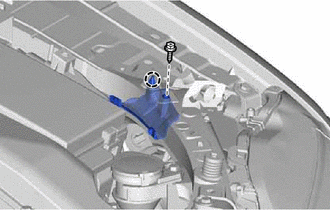
Remove the screw.
-
Disengage the claw to remove the No. 2 hood lock control cable cover.
-
-
REMOVE HOOD LOCK CONTROL CABLE ASSEMBLY
-
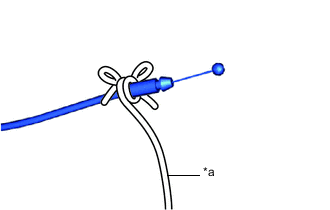
*a String Tie the string to the end of the hood lock control cable assembly as shown in the illustration.
Tech Tips
Use a length of string long enough to pass through the engine compartment.
-
Disengage the clamps, claws and stopper.
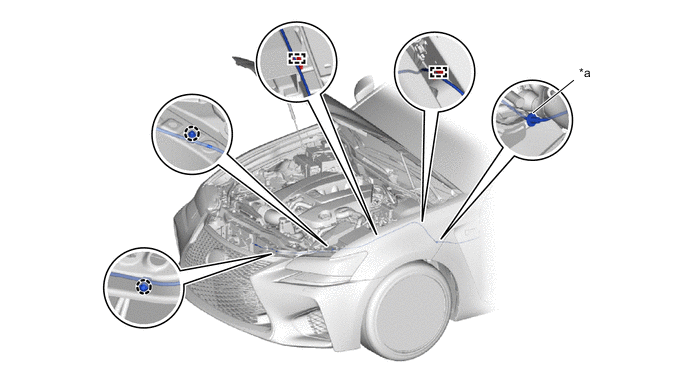
*a Stopper - - -
Pull out the hood lock control cable assembly from the vehicle body to remove it.
-
Remove the string from the hood lock control cable assembly.
-