REAR CONTROL SWITCH DISASSEMBLY

PROCEDURE
-
REMOVE COOLER CONTROL SWITCH PANEL
-
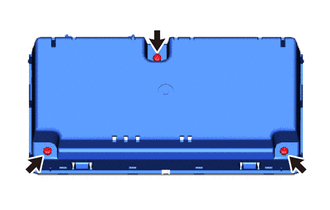
Remove the 3 screws.
-
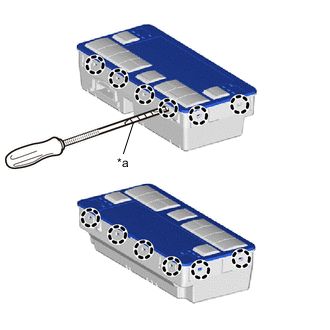
*a Protective Tape Using a screwdriver with its tip wrapped in protective tape, disengage the claws to remove the cooler control switch panel.
-
-
REMOVE COOLER CONTROL SWITCH KNOB
-


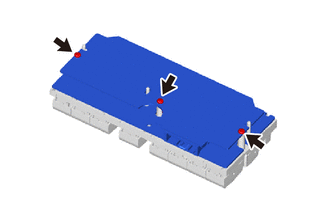
Remove in this direction Pull in the direction indicated by the arrows in the illustration to remove the cooler control switch knob from the cooler control case.
Note
-
When replacing the cooler control switch knob, before starting work, remove static electricity that has built up in the body by touching, for example, the vehicle to prevent the circuit board sub-assembly from being damaged.
-
Do not damage the circuit board sub-assembly.
-
-
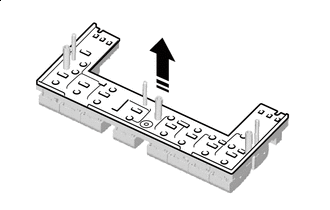
Remove the 3 screws and circuit board sub-assembly.
Note
-
When replacing the cooler control switch knob, before starting work, remove static electricity that has built up in the body by touching, for example, the vehicle to prevent the circuit board sub-assembly from being damaged.
-
Do not damage the circuit board sub-assembly.
-
-
Remove in this direction Pull in the direction indicated by the arrows in the illustration to remove the rubber switch from the cooler control switch knob.
-