AIR COOLED OIL COOLER REMOVAL
CAUTION / NOTICE / HINT
The necessary procedures (adjustment, calibration, initialization, or registration) that must be performed after parts are removed and installed, or replaced during front bumper assembly removal/installation are shown below.
| Replaced Part or Performed Procedure | Necessary Procedure | Effect/Inoperative Function when Necessary Procedure not Performed | Link |
|---|---|---|---|
| Front bumper assembly (w/ Panoramic View Monitor System) | Front television camera view adjustment | Panoramic View Monitor System |
PROCEDURE
-
REMOVE FRONT WHEEL OPENING EXTENSION PAD RH
-
REMOVE FRONT WHEEL OPENING EXTENSION PAD LH
-
REMOVE NO. 1 ENGINE UNDER COVER
-
REMOVE FRONT BUMPER ASSEMBLY
-
REMOVE FRONT LOWER BUMPER ABSORBER
-
REMOVE FRONT BUMPER ENERGY ABSORBER
-
REMOVE FRONT BUMPER REINFORCEMENT
-
REMOVE FRONT RADIATOR SIDE AIR GUIDE PLATE LH
-
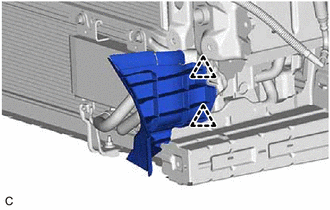
Disengage the 2 clips to remove the front radiator side air guide plate LH.
-
-
DISCONNECT OIL COOLER HOSE
-
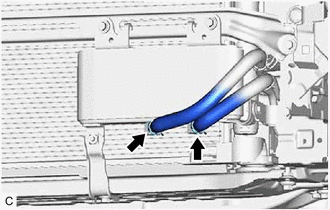
Slide the 2 clips and disconnect the 2 oil cooler hoses from the oil cooler assembly.
Note
Use a container to catch any fluid which flows out of the oil cooler hose and oil cooler assembly.
-
-
REMOVE OIL COOLER ASSEMBLY
-
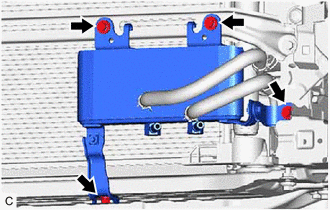
Remove the 4 bolts and oil cooler assembly.
Note
Use a container to catch any fluid which flows out of the oil cooler assembly.
-